How to Prepare Your Home for an Interior Painting
Most homeowners spend a lot of time thinking about color choices before an interior painting project. They pull paint chips, browse Instagram, test swatches on the wall. All of that is worthwhile — color matters.
But the preparation that actually determines how a paint job turns out happens before the first brush touches a wall. And a lot of it is on your end, not the painter’s.
Here’s what Charlevoix homeowners should do before an interior painting crew shows up — and what you can leave to the professionals.
Why Preparation Matters More Than Most Homeowners Realize
A paint job that fails in two years almost always failed in the prep phase. Paint doesn’t bond to dirty walls. It doesn’t cover furniture damage that happened because the room wasn’t cleared. It doesn’t look right if the lighting at move-in time looks different than the lighting on swatch selection day.
The goal of pre-painting preparation is simple: give the painters the clearest possible access to the surfaces they’re painting, and give yourself the clearest possible picture of what you’re getting before the job starts.
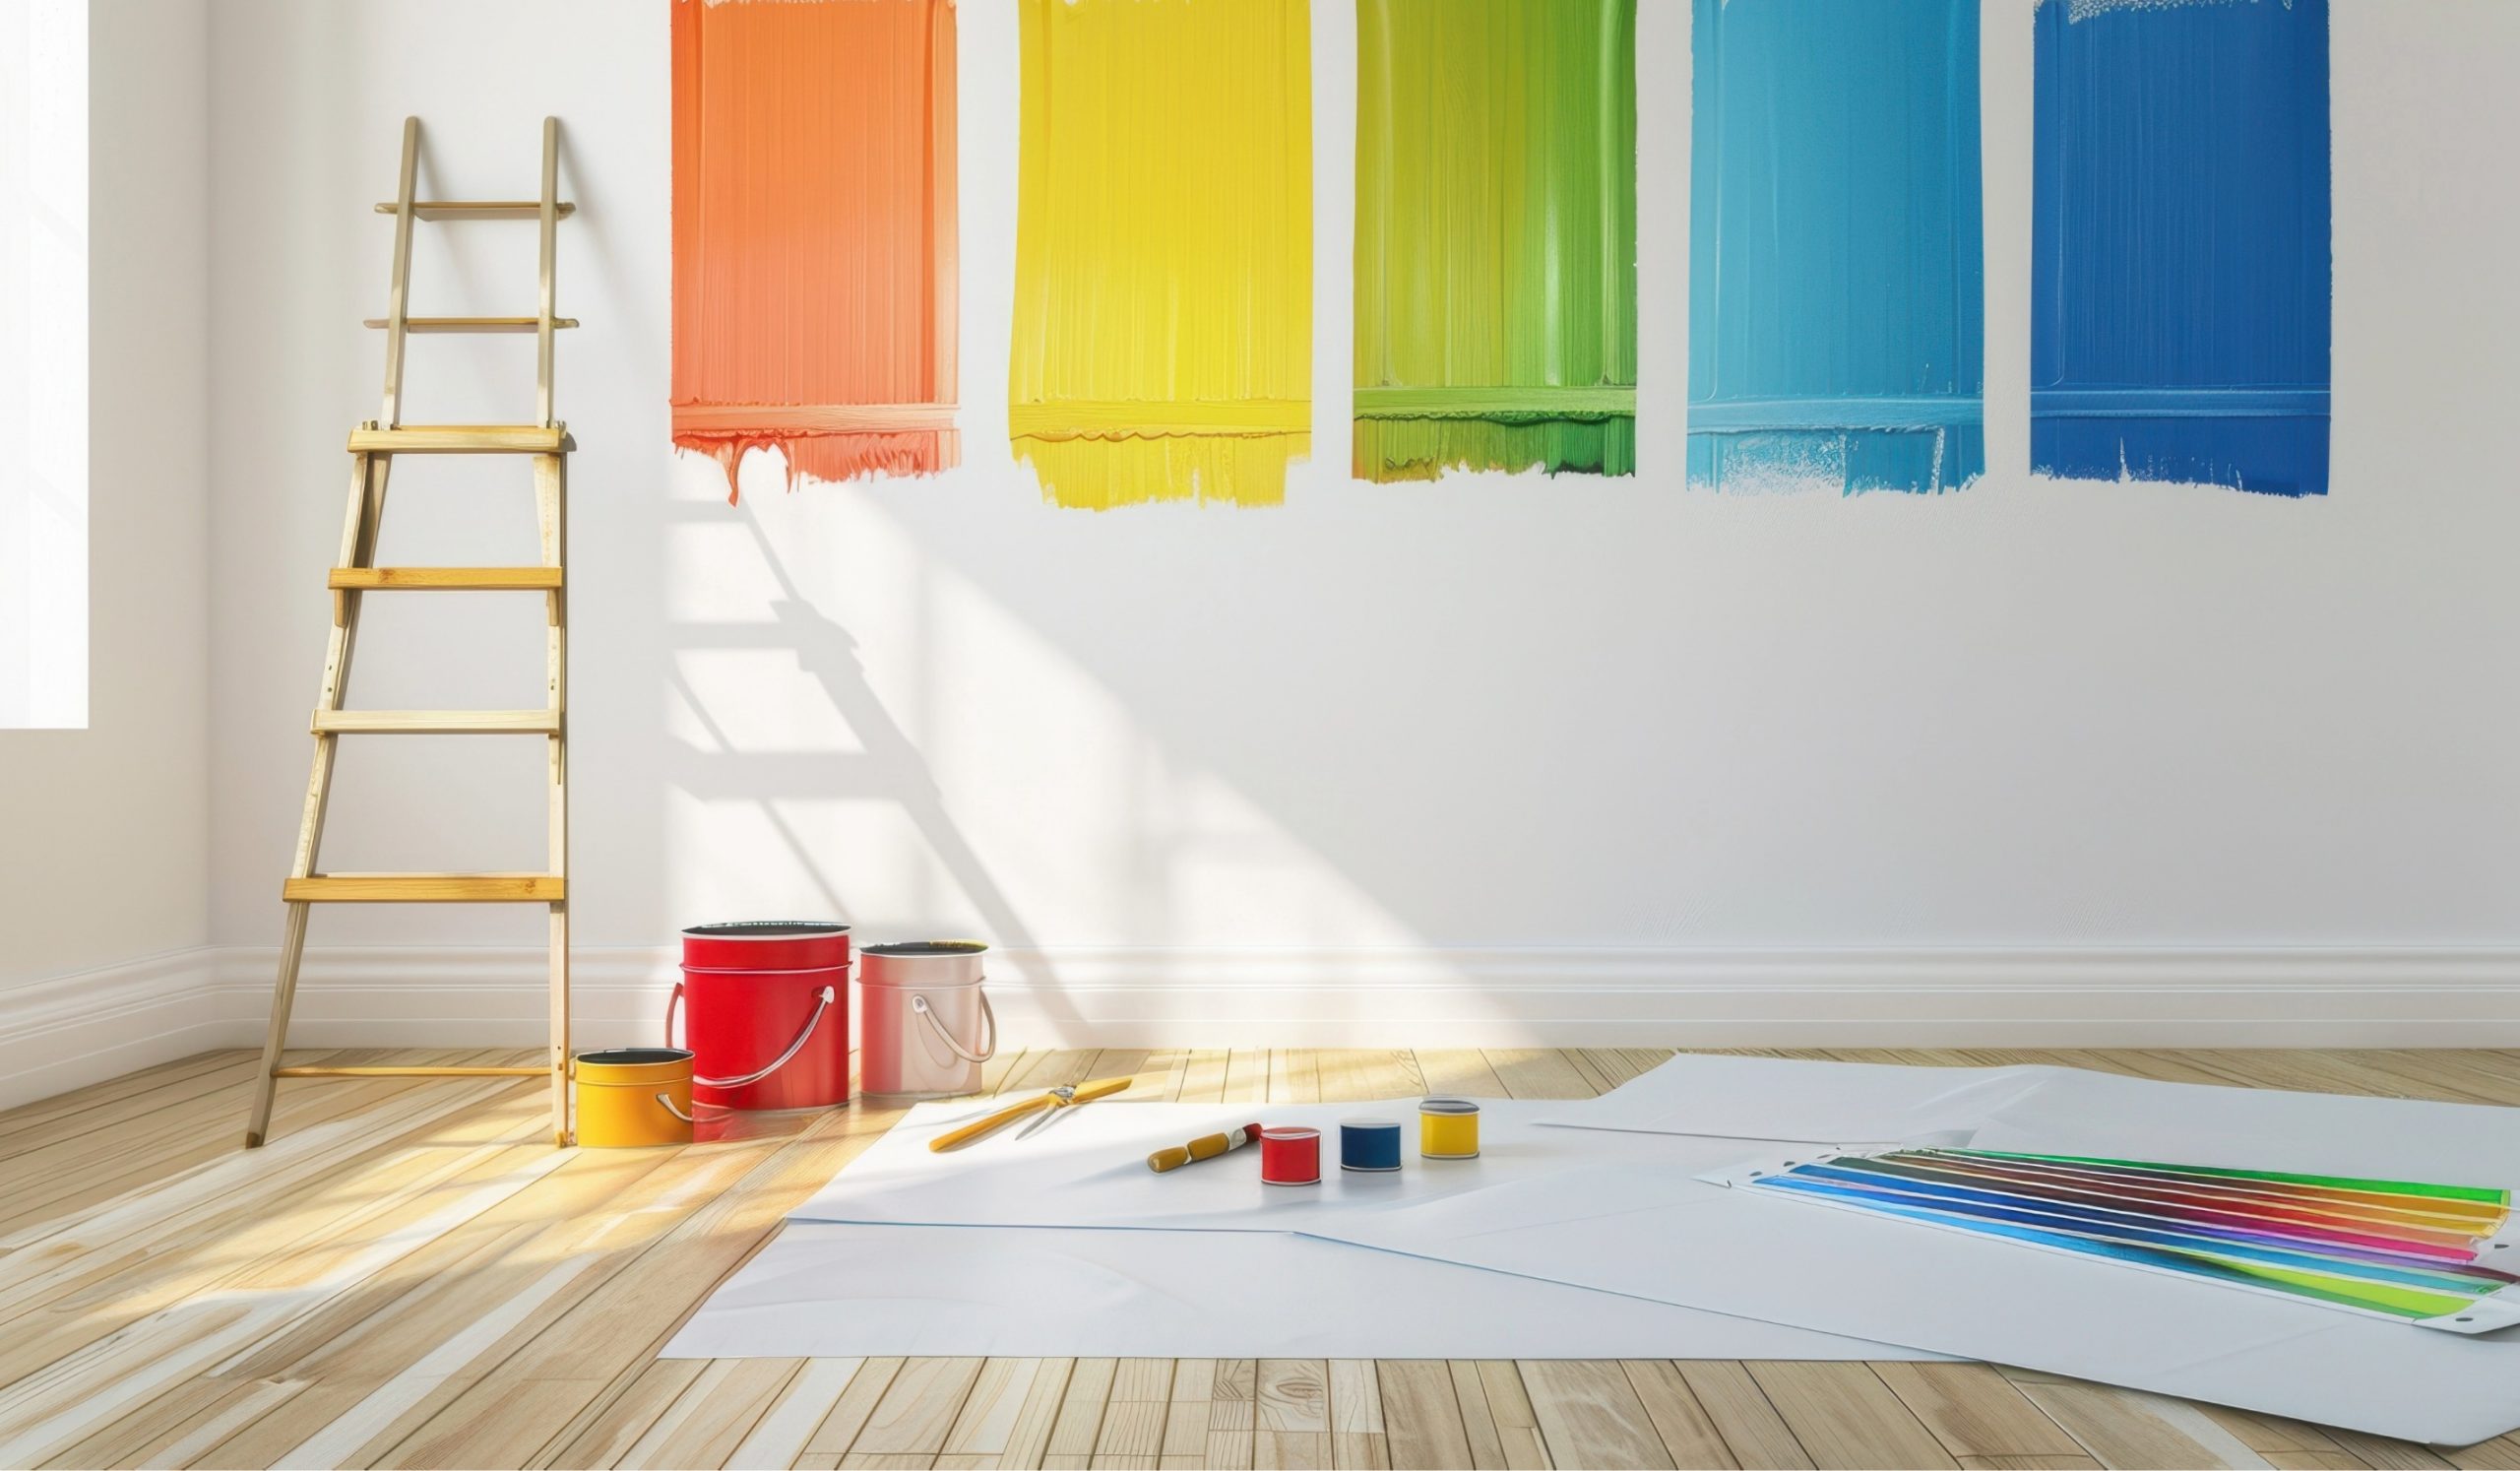
1. Finalize Your Colors Before the Crew Arrives
This sounds obvious but it’s where projects most commonly stall. Changing your mind about a color after the primer is on adds time and cost to the project. The time to second-guess is before the estimate is signed — not after.
A few things that help with color selection:
Test on the actual wall. Paint chips are useful for narrowing down options, but they don’t tell you how a color behaves at scale in your specific room with your specific lighting. Buy sample pots and paint a 12-by-12-inch section of the actual wall. Look at it in the morning, midday, and in the evening with lamps on. Colors shift dramatically with light.
Consider the whole space. A color that looks perfect on the south wall may feel completely different on the north wall where direct light never hits. Walk the room with your sample painted before committing.
Decide on trim separately. Wall color and trim color are related decisions. Most Northern Michigan homes use white or off-white trim — but bright white trim and warm white trim read very differently against the same wall color. Have both decided before the crew starts.
Don’t forget the ceiling. A ceiling that hasn’t been painted in ten years will look dingy against fresh walls. If you’re painting walls, seriously consider including the ceiling. The difference in cost is modest; the difference in the finished look is significant.
2. Clear the Rooms Being Painted
Professional painters bring drop cloths and plastic sheeting — they’ll protect what’s in the room. But the more you remove, the cleaner the process and the better the result.
What to remove:
- Artwork and mirrors from all walls being painted
- Decorative items from shelves and surfaces near walls
- Rugs from the floor — paint drips and foot traffic combine badly
- Small furniture if you can manage it
- Valuables, breakables, and anything you’d be upset about if it got bumped
What the painting crew typically handles:
- Moving large furniture to the center of the room
- Covering furniture and floors with drop cloths
- Removing outlet covers, switch plates, and hardware
- Taping trim, windows, and transitions
You don’t need to empty rooms before painters arrive. But clearing the small items and personal valuables makes the crew’s job easier, speeds up the project, and reduces the chance of anything getting damaged by accident.
3. Identify and Note Any Problem Areas
Walk every room in scope before the painters arrive and make a list of anything you want addressed — don’t assume the crew will find everything.
Things to flag:
Drywall damage. Nail holes, doorknob impacts, settlement cracks, areas where old wallpaper was removed and left the surface rough. Minor drywall repair is typically handled as part of interior prep — but pointing it out during the walkthrough ensures nothing gets missed.
Stains. Water stains, nicotine, smoke, crayon — these require stain-blocking primer to prevent bleed-through. If you know there’s a stain history in a room, flag it specifically so the right primer gets used before paint goes on.
Areas that were previously patched. If a previous owner or contractor made repairs, point those out. Old patches sometimes need additional prep before paint bonds properly over them.
Trim or door issues. Doors that don’t close cleanly, trim that’s pulling away from the wall, caulk that’s cracked or missing. These are prep items, and the sooner they’re on the crew’s radar, the better.
4. Think Through the Color-to-Sheen Decision for Each Room
Color gets all the attention, but sheen is just as important — and a lot of homeowners don’t think about it until the paint is already on the wall.
Flat and matte: Best for ceilings and low-traffic areas. Hides surface imperfections well but marks easily and is harder to clean.
Eggshell: The most common residential wall finish. Subtle sheen, easy to clean, holds up well in most rooms. The default for living rooms, bedrooms, and dining rooms.
Satin: Slightly higher sheen than eggshell. Better in high-traffic areas — hallways, kids’ rooms, home offices. Easier to wipe down.
Semi-gloss: Best for trim, doors, and bathrooms. Durable, moisture-resistant, and easy to clean. Shows surface imperfections more than lower sheens.
Full gloss: Rarely used on walls in residential projects. Extremely durable but shows every imperfection. Occasionally used on trim for a high-impact look.
The right sheen depends on how the room is used, how much cleaning it needs to handle, and the level of finish quality you want. A good painter will guide you — but coming in with a sense of your preferences speeds up the conversation.
5. Communicate Any Scheduling Constraints Clearly
Interior painting projects involve multiple rooms over multiple days. The more information the painting crew has about your schedule, the better they can sequence the work.
Things worth communicating before the project starts:
- Any days or times the house needs to be usable
- Rooms that are highest priority if the schedule needs to compress
- Whether pets need to be accommodated (paint fumes, doors being left open, etc.)
- Whether you’ll be home during the project or away
- Any hard deadlines — hosting guests, a listing date, a holiday gathering
A professional painting crew will work around reasonable scheduling constraints. The key is communicating them before the project starts rather than mid-project when the schedule is already set.
6. Decide on Cabinet Scope Before the Project Starts
If you’re considering cabinet painting alongside an interior repaint, that decision needs to be made before the project scope is finalized — not halfway through.
Cabinet painting has a different timeline than wall painting. Doors come off. Surfaces get degreased and primed. Spray application requires a dedicated workspace. Cure time before reinstall adds days to the schedule.
If you want both done in the same project window, plan for it upfront. The efficiency gains of combining both services are real — one crew, one schedule, one mobilization — but only if the scope is set before work begins.
7. What You Can Leave to the Professionals
Some homeowners want to do prep work themselves to reduce cost. Here’s what actually makes sense to DIY and what’s better left to the painting crew:
Reasonable to DIY:
- Removing artwork, mirrors, and small decor
- Moving small furniture out of rooms
- Patching small nail holes with spackle if you’re comfortable
- Cleaning particularly dirty walls with a mild soap solution
Better left to the painting crew:
- Caulking gaps at trim, baseboards, and door frames
- Taping transitions, trim, and hardware
- Sanding existing finishes for proper paint adhesion
- Any drywall repair beyond basic nail hole filling
- Priming — matching the right primer to the surface is a product knowledge decision
- Any surface prep that affects how the paint bonds
A painting crew that does their own prep has control over the full result. When homeowners handle prep steps the crew isn’t expecting, it can create surface conditions that affect how the paint goes on — and how it holds.
The Bottom Line on Interior Painting Preparation
The best thing you can do before an interior painting project is make the decisions that need to be made — colors, sheen, scope, schedule — and clear the physical access the crew needs to do their work properly. Leave the surface prep, the caulking, and the primer to the painting crew. That’s where their expertise actually lives.
A well-prepared home moves faster, comes out cleaner, and ends up looking the way you pictured it.
If you’re planning an interior painting project in Charlevoix or Northern Michigan, we’re happy to walk the space and put together a written estimate.